How to Replace an Outside Tap: Complete Step-by-Step Guide
A dripping, stiff, or corroded outside tap isn’t just inconvenient — it can waste water, damage walls, and make outdoor tasks a pain. Whether you’re preparing for the warmer months or replacing a faulty fitting, changing an outside tap is a manageable DIY job for most homeowners.
At Pleasant Plumbers, we help London homeowners install and replace outdoor taps safely, professionally, and to full Water Regulations standards. Here’s your complete guide to doing it yourself — and when to call in the pros.
Tools & Materials You’ll Need
- Adjustable spanner or wrench
- Pipe wrench (for tight fittings)
- Replacement outdoor tap (½" BSP thread standard in the UK)
- PTFE tape (for sealing the threads)
- Bucket or cloth to catch water
- Isolator valve screwdriver (if applicable)
Step-by-Step: How to Replace an Outside Tap
Step 1: Turn Off the Water Supply
Locate the internal isolation valve that controls the outside tap — often under the kitchen sink or near the back wall.
If no isolator is fitted, turn off the water at the mains stopcock.
Step 2: Drain the Tap
Turn on the outdoor tap to release any remaining water in the pipe. This prevents spillage when removing the old tap.
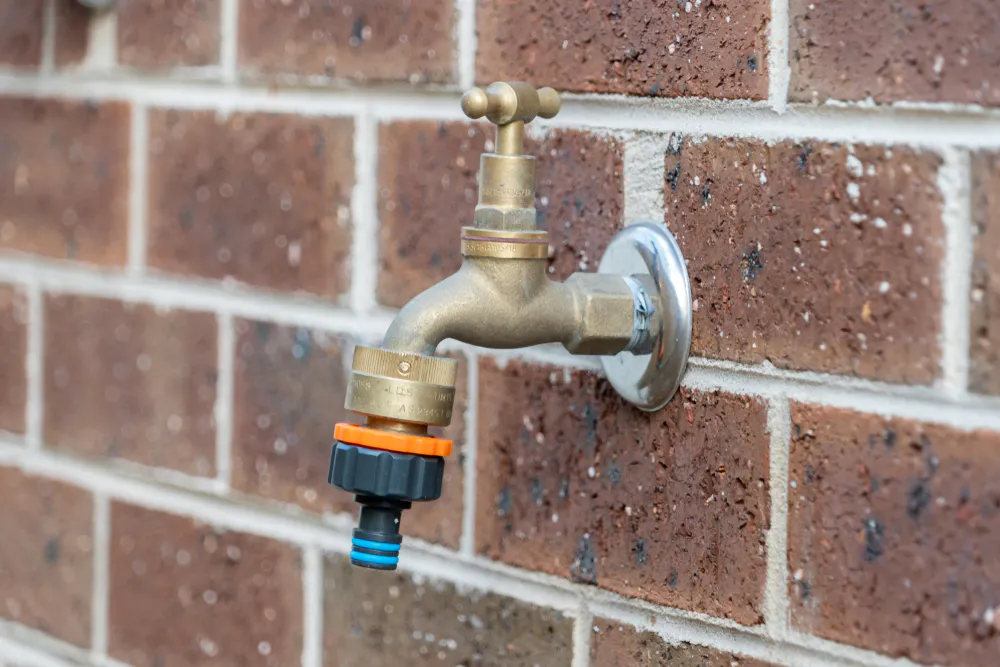
Step 3: Remove the Old Tap
Use an adjustable spanner to grip the base of the tap where it screws into the wall plate or elbow fitting.
Turn it anti-clockwise until it comes free. If tight, hold the backplate steady with a pipe wrench to avoid straining the pipe inside the wall.
Step 4: Apply PTFE Tape to the New Tap
Wrap PTFE tape (plumber’s tape) around the threaded section of the new tap 5–6 times in a clockwise direction. This helps ensure a watertight seal.
Step 5: Install the New Tap
Screw the new tap into the wall fitting by hand first, ensuring it goes in straight. Then tighten with a spanner until snug — but avoid over-tightening, which can crack the fitting or strip threads.
Make sure the tap outlet is facing downwards.
Step 6: Turn the Water Supply Back On
Slowly turn the isolation valve or stopcock back on. Check the tap and connection for leaks. If water drips from the thread, turn off the supply and tighten the tap slightly further or reapply PTFE tape.
Bonus Tip: Fit a Tap Cover for Winter
An outdoor tap cover (or insulation jacket) protects your new tap from freezing in winter and helps extend its life. You can also add a double-check valve to prevent backflow into your internal supply.
When to Call a Professional
You should contact a qualified plumber if:
- The tap threads are rusted or snapped
- The pipework behind the wall is damaged or leaking
- You need to install a new outdoor tap from scratch (new pipe runs must meet UK Water Regulations)
Need Help with an Outside Tap Replacement?
If you're unsure or want peace of mind, Pleasant Plumbers can handle the job for you — quickly and to regulation. We replace outdoor taps, install isolation valves, and insulate pipework to protect your home year-round.
📲 Call or WhatsApp 0800 046 1000
📧 Email [email protected]
🌐 Visit pleasantplumbers.com
Searching 'Plumber Near Me?' Plumber London or Commercial Plumber London? We operate all across London! If you need a trusted plumber in London then get in touch with us today on 0800 046 1000 or email us on [email protected]
Pleasant Plumbers – Where Trust Flows Like Water.